How to Patch Bare Spots in Your Lawn
- Gardening Expert and Host of Growing a Greener World®September 30, 2023
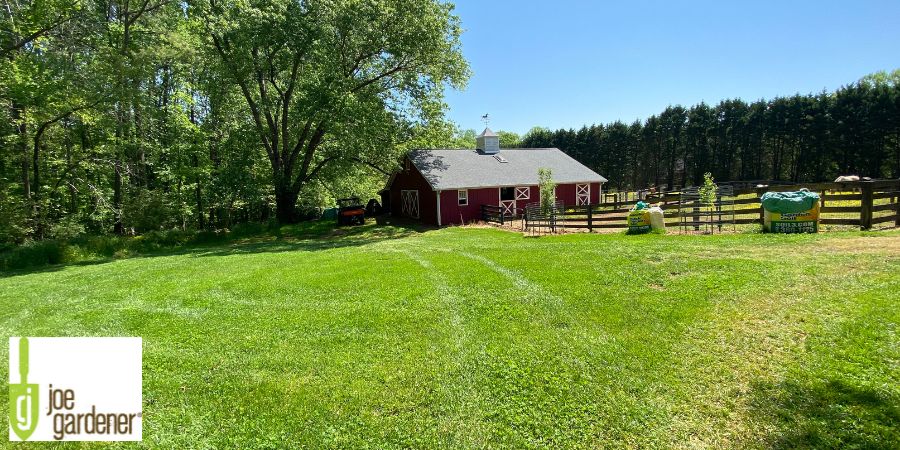
When I was a new homeowner, my lawn was my pride and joy. And yet, I soon realized, that the pursuit of the perfect lawn was unrealistic. So, instead, I shifted my focus to finding effective ways to fix, repair, or patch those areas of my lawn to bring them back to their full potential. In this article, I share with you those simple but important steps to repair any turfgrass.
Reasons Why Lawns Need Repairing
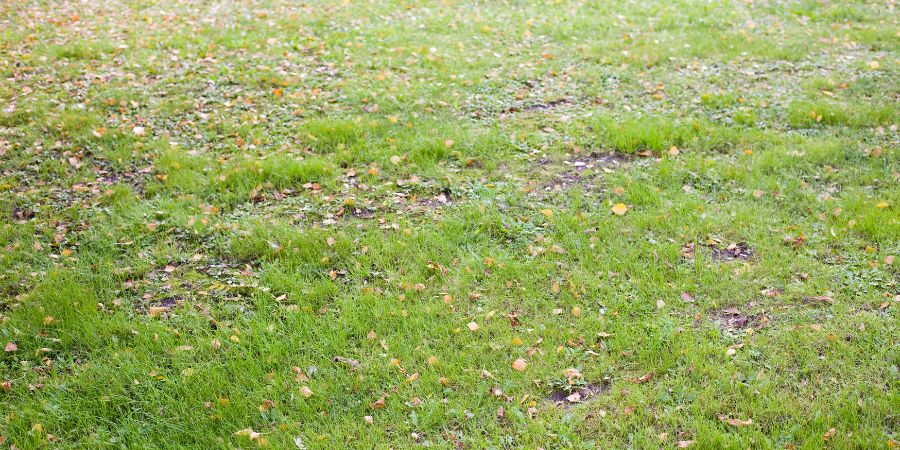
Lawn grass can start to lose its vigor or fullness for several reasons. Here are some of the most common.
Top on the list is the lack of sunlight. All turfgrass needs full sun to look its best. While some grass types can get by with a bit of shade, including Fescue, Bluegrass, and Zoysia, they will never fully thrive without all-day sunlight. Suffice it to say, these grasses can tolerate a bit more shade, but they prefer as much sun as they can get to thrive.
Look up to see if trees or limbs are now shading parts of your lawn that used to be in full sun. Limbing up tree branches or selective pruning of some can greatly improve this situation. Anything you can do to get more light to the ground where your grass is will help.
Another common occurrence for parts of your lawn showing decline is areas that have become too dry or too wet. Either will cause those parts of your lawn to look thin, dull, or, in all cases, less attractive.
Cutting your lawn at the wrong height, either too high or too low, can lead to problems that need repairing. Each lawn type has a preferred height to look its best.
Soil compaction is another one. If a part of your lawn is subjected to repeated instances of cars or heavy equipment going over those areas, that’s a likely reason those parts of your lawn look worse for the wear.
Insects or diseases may set parts of your lawn back. Proper diagnosis is the first place to start in knowing how to get this under control. Your county extension service is one of the best sources to go for help. And certainly, online resources, particularly from university sites, provide reliable information.
Once you’ve identified the likely reason, do whatever you can to prevent its continuation. That part is up to you in how you will address it going forward. But once you have, here are the steps you should do to patch or repair those parts of your lawn to get them back to peak performance.
Steps to Repairing or Patching Your Lawn
No matter what type of turfgrass you have, the best time to repair your lawn is when it is actively growing. For warm-season grass, such as Bermuda, Zoysia, Centipede, or St. Augustine, that is about a month after your last spring frost, through late summer. For cool-season grass, including Fescue and Bluegrass, early spring and early to mid-fall are best. But whichever type you have, here are the steps to bring it back to full recovery.
-
Prepare the site. No matter what type of grass you currently have, start with a clean slate. Roots of grass seed or pieces of replacement turf that will fill the void, need the best opportunity you can provide for allowing roots to penetrate and expand into the soil. While this is especially true with compacted soil, all soil should be loosened up sufficiently enough to prepare for the roots. For large areas, that may include tilling. More often, it’s simply a matter of scratching up the surface or scraping over it with a tool with stiff downward-facing tines. Going back and forth over the area a few times should do the trick.
- Improve the soil. All turfgrass benefits from nutrient-rich, well-draining soil. Now that you’ve prepared the soil surface to optimize root establishment and growth, now is the perfect opportunity to enhance it. Homemade or purchased high-quality compost applied over the existing soil sufficiently enough to work into the voids and lightly cover the surface is ideal. It doesn’t take much to provide important organic material right where the new grass will need it most.
- Seed or fill with replacement pieces of turf. If using seed to patch your lawn, apply according to the information on the bag. While more may seem better it’s not. Lightly cover the area and scratch it into the soil. For seeded applications only, it is very helpful to lightly cover the area with straw once sown. This will help protect the seed from birds and from washing away. It also serves a very important role in helping to keep your seed moist until germination. If using pieces of sod, cut them to fit into the bare spots that you have prepared, and lightly press into the soil surface to make good contact. For warm-season grasses that spread, if necessary, you can place sod sections a few inches apart and it will fill in once roots take hold and growth kicks in.
- Keep watered until germination or roots take hold. Even soil moisture is critical at this stage to ensure seeds germinate and/or roots take hold. While moisture is key, be careful that the soil does not become saturated. Once the seed has germinated or the turf pieces have rooted, cut back on watering, but don’t allow the new grass to dry out.
- Apply a light application of fertilizer. Now would be a good time to apply a small amount of fertilizer to the surface. Once again, a little goes a long way. The extra nitrogen found in lawn fertilizers will be helpful to the newly patched area, but too much can be detrimental depending on what fertilizer you use. Milorganite is my fertilizer of choice for this because it is a non-burning, slow-release, organically derived nitrogen-based fertilizer. It’s the ideal type of fertilizer to apply at this stage of lawn repair, and for ongoing use at all stages of growth as well.
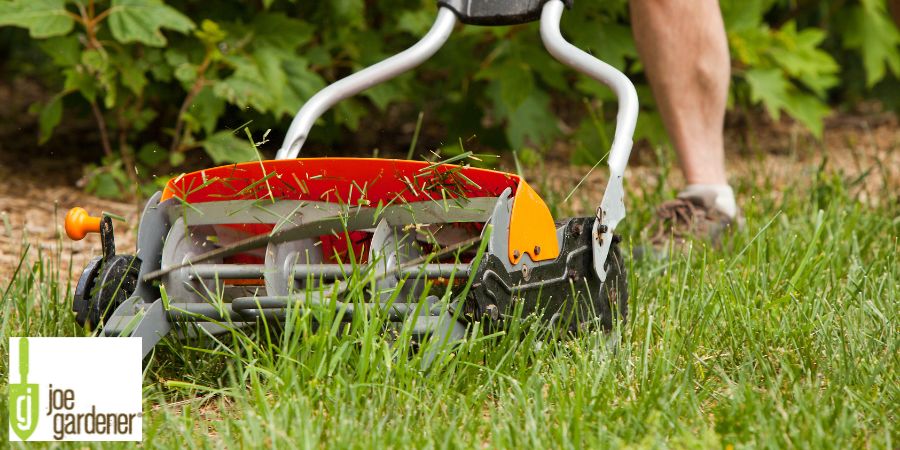
One final point to keep in mind as your newly repaired lawn continues to establish. Resist the urge to mow too soon. Mower wheels and turns can be tough on tender young grass blades. This is particularly true with seeded grass. I suggest waiting three weeks after germination before taking your mower to that part of your lawn.
If you follow these five simple but important steps, you will have those tired and tattered areas of your lawn back in shape quickly and with very little effort.