
How to Grow Grass on a Hill
- Milorganite AgronomistMay 30, 2026
It IS Possible for You to Seed Turfgrass on Hills, Slopes!
One of the biggest challenges to successfully growing grass on a hill or slope is gravity. Everything wants to go downhill, including the soil, the turfgrass, and the grass seed if you’re starting a new lawn or renovating one that’s tired. And when there’s excessive rain, the hill erodes. There are steps you can take to defy gravity and grow grass hills and slopes on your property.
You don’t have to go the DIY route. If you need a quick lawn or erosion control on an incline, sod is your best bet. It quickly establishes and looks beautiful. If the slope is particularly steep, you could hydroseed it. You could conquer the hill by building retention walls or terraces and creating level surfaces for the lawn. But here, I want to share tips on how you can successfully grow grass on a hill or slope.
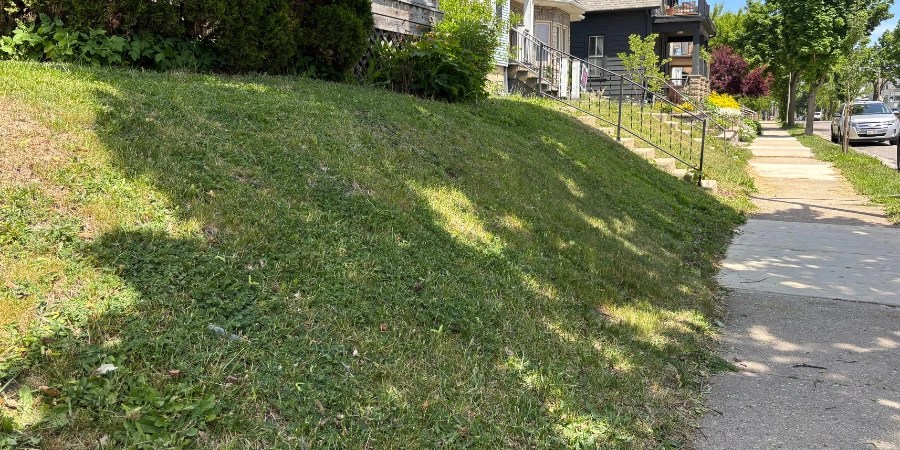
How steep is that hill? Slope Percentage
A gentle slope away from your house is needed to encourage rainwater to drain away rather than toward it. But more than a gentle slope can be challenging when you’re trying to grow grass.
Slope is the change in elevation over a distance and is measured as how many feet of rise over what distance, “rise over run”, and is expressed as a percentage. For example, if the rise of the slope is 2 feet over a distance of 20 feet, the percentage is 10% (2 feet in rise divided by 20 feet of run = .1 x 100 = 10%).
Slope percentages will help you determine whether an area is appropriate for a traditional lawn that integrates with the rest of your property, or whether a turfgrass alternative is a better option.
A slope percentage under 15% may be barely noticeable. It’s easy to walk and can be safely mowed with a walk-behind or riding lawn mower. You can choose the same grass varieties as the rest of your property and conventional seeding methods.
A 15% to 20% slope is noticeably hilly and becomes a safety risk when using riding mowers, which at this slope should only be driven straight up and down, never horizontally, to avoid the risk of the mower tipping over.
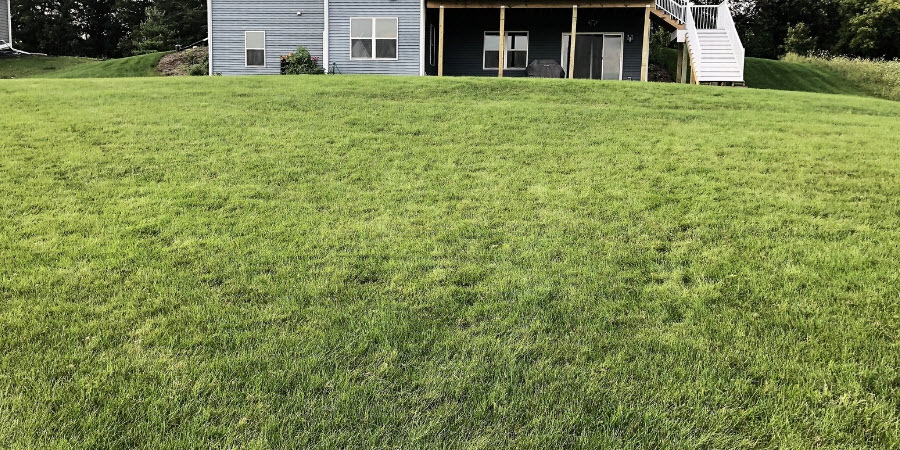
Slopes 20% to about 30% are noticeably steep. You’ll start to get the sense that you’re climbing rather than just walking. This is the maximum slope percentage for traditional lawns. Here, you won’t be able to use a riding mower safely and must rely on a walk-behind mower, string trimmers, or similar equipment to maintain the lawn. Establishing grass here requires erosion control measures when seeding, including using germination mats (blankets) or erosion control mats to help prevent seed from washing away.
Anything over a 30% slope is too steep for turfgrass, as it’s likely prone to severe erosion. Maintenance isn’t just difficult here; it can be dangerous. Here you’ll want to consider a low-maintenance, lawn alternative such as deep-rooted native plants or groundcovers to hold the soil in place, and it is a cost-effective option. An alternative is to build a retaining wall or terraces to create level areas, which can then be seeded using traditional turfgrass seed.
Don’t Skip the Prep Work
Preparing an area for seeding is the same whether it’s on level ground, a gentle hill, or a slope. Remove existing grass, debris, weeds, and rocks. Loosen the top few inches of soil and add compost or topsoil for additional organic matter and to improve water retention. If the soil is compacted, you may want to consider using a rototiller to loosen the soil. Level the area using a rake. Mix Milorganite fertilizer into the top two inches of soil before seeding or sodding or sprigging at a rate of 64 lbs. per 2,500 sq. ft.
Water thoroughly ensures the soil isn’t hydrophobic, preventing water from penetrating the soil. You don’t want to find out that water is running off and not soaking in after you just seeded.
Selecting Grass Seed for Hills, Slopes
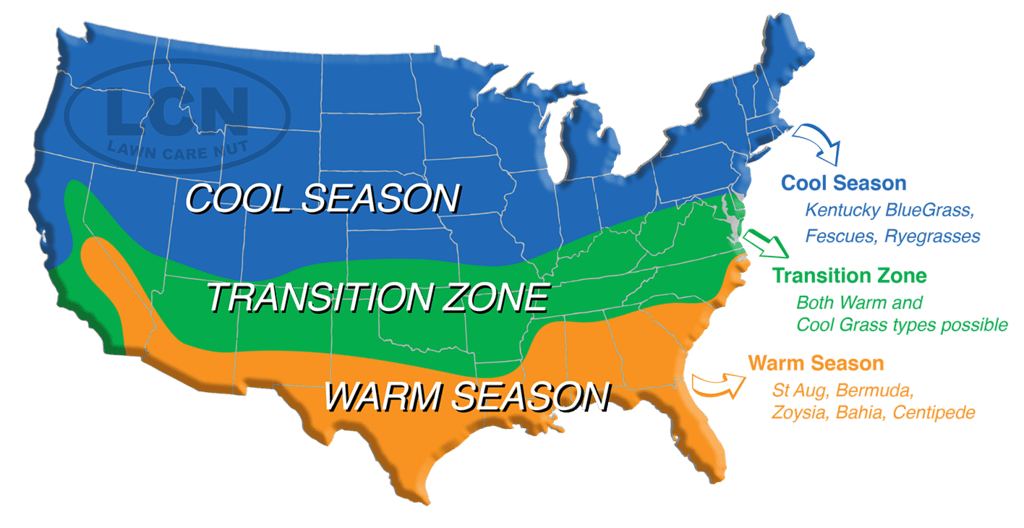
Choosing an appropriate turfgrass variety is important, especially when seeding a hill. Make sure you choose varieties suited to your area. Here’s a map to determine whether you should be looking for Northern, cool-season grass varieties or Southern, warm-season grass varieties. Also consider how much sun/shade the area gets.
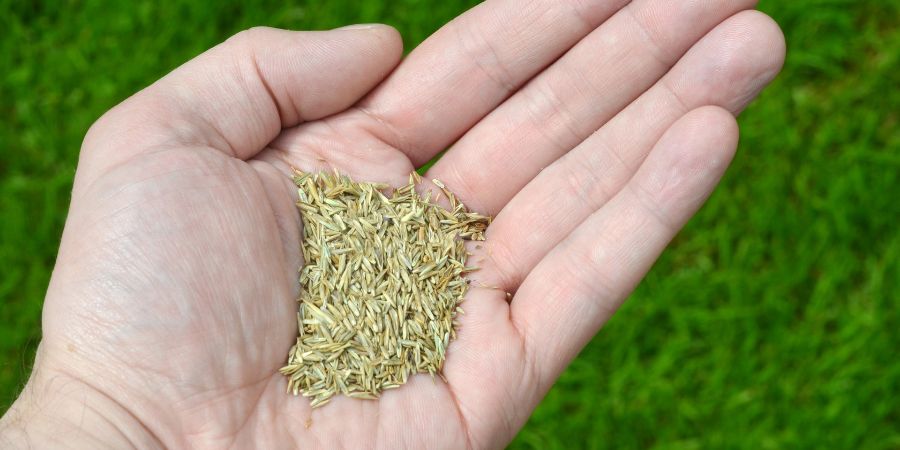
Select fast-germinating, drought-tolerant grass varieties, particularly natives. They develop deeper root systems as they seek out water and survive on slopes where water drains quickly. Once established, the grass won’t need as much water to thrive. Choose varieties that germinate quickly. The quicker the seed germinates and establishes itself, the better, especially on a slope. Although pre-germinating seed can significantly shorten the time between seeding and establishing grass.
As the slope percentage increases, less “traditional” lawn grass is recommended. For gentle slopes, consider extending the aesthetic of your current lawn by using the same or similar turfgrass varieties. As slopes increase, you’ll want to look for varieties that are less “lawn focused” instead of choosing low-maintenance varieties that are better suited for erosion control. For very steep slopes, erosion control is your main goal. Choose functional, drought-tolerant grass varieties. If the slope is extreme, no-mow grass or grass alternatives should be considered, such as native perennials and ground covers.
Here are some drought-tolerant, deep-rooted grasses to consider:
- Bermudagrass (warm-season), with its deep, fibrous root system, is highly effective for erosion control in sunny areas.
- Tall Fescue (cool-season) has roots that grow up to 3 feet deep, one of the deepest root systems of any cool-season turfgrass. It’s good in high-traffic, sunny areas.
- Buffalograss (warm-season) is a low-maintenance, drought-tolerant, native grass for dry areas with roots that can reach 4 to 6 feet deep.
- Creeping Red Fescue (cool-season) is a good choice for heavily shaded areas and slopes requiring low maintenance.
- Perennial Ryegrass (cool-season), because of its rapid germination, is good for rapid, short-term soil stabilization. It is often mixed with other grasses with deeper root systems that take longer to germinate and mature, but offer long-term erosion control. A typical seed blend may include 70% Tall Fescue and 30% Perennial Ryegrass.
- Bahiagrass (warm-season) is highly drought-tolerant and can grow in poor soils.
- Switchgrass (warm-season) is a deep-rooted, native grass that, under optimal conditions, can grow roots 5-10 feet deep
Seed-starting, biodegradable mats that include grass seed, fertilizer, and mulch in one are available for convenience, but you may not find the best seed or seed mix for your property.
To minimize ongoing maintenance, consider a no-mow grass variety, especially for steep slopes. There are also seed mixes that combine turfgrass seed with clover, which fixes nitrogen and makes it available to the grass. This may be ideal for low-maintenance turfgrass on difficult or impossible-to-maintain slopes.
After you determine the grass variety or mix that will work best, measure the area to determine how much seed to purchase.
Pre-Germinating to Jump Start Seeding
Excessive rain and irrigation can cause grass seed to wash out. The longer the seed takes to germinate, the more susceptible it is. Depending on the variety, grass seed can take as little as four days to more than a month to germinate. Pre-germinating grass seed significantly shortens the time it takes for grass to establish, reducing the period when the seed is vulnerable.
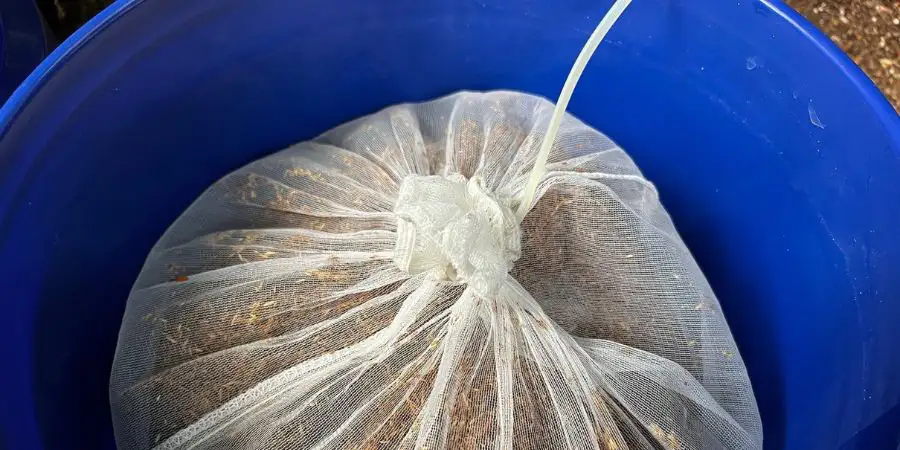
Pre-germinate grass seed in bucket
We have an entire page with step-by-step instructions for how to pre-germinate grass seed. Here’s a quick rundown of the steps. Weigh the dry seed. You’ll need to know the weight later. Using a cheesecloth or burlap bag, soak the seed in room-temperature water. Change the water daily. Soak until the seed germinates, then drain. After the germinated seed is as dry as possible, mix it with Milorganite at a 1:4 by weight ratio: 1 lb. of seed (dry weight) to 4 lb. of Milorganite. Seed distribution rates can be found here. Mixing pre-germinated seed with Milorganite lets you spread the seed and fertilize in a single pass.
Fairly precise timing is needed when pre-germinating grass seed. You’ll need to coordinate the seeds’ germination time, the weather forecast, and your schedule.
Keep Seeds in Place, Retain Moisture with Germination Mats
Germination mats (blankets) or erosion control mats are used to keep seeds in place, retain moisture, and help keep birds away. Covering the newly seeded area helps keep seeds in place, maintains consistent moisture, and discourages birds. Whichever method you choose, ensure sunlight and air can easily reach the seed. Some methods or products are more expensive than others, but it’s a matter of preference, convenience, time, and budget. There are many variations of germination mats, from synthetic, permanent, long-term erosion control options to biodegradable options that can be made from a number of materials, such as wood fiber, wheat, and coconut fiber (coir).
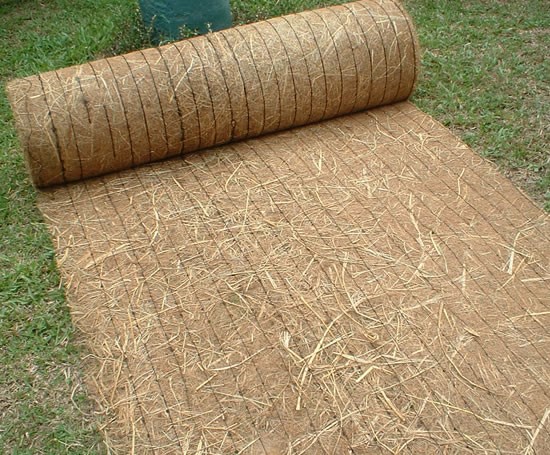
Erosion Control Blanket Made From Straw | Photo Credit: Minnesota Pollution Control Agency
Germination mats or blankets generally refer to products intended for light-duty residential use. Erosion control mats are heavy-duty and primarily used for erosion control, with the added benefit of assisting seed germination.
Germination and erosion control mats can be roughly categorized into: permanent, synthetic; long-term, partially synthetic; and short-term, biodegradable.
Permanent
Erosion control mats, known as “turf reinforcement mats”, are 100% synthetic and designed to remain permanently in place. These are made from synthetic materials, sometimes combined with natural materials, and are meant to be placed permanently. These are generally reserved for heavy-duty commercial projects, extremely steep, erosion-prone slopes, and drainage ditches.
There are also germination mats that can be reused. After the grass has reached about 2 inches tall, these mats can be rolled up and stored for future projects.
Long-term
These types of mats combine natural materials and synthetic mesh and can last 2–3 years. These combine durable, organic fibers, such as wood fiber, wheat, and coconut fibers, with heavy-duty synthetic mesh.
Degradable
Some mats are solar- or photodegradable and break down in sunlight, while others are biodegradable and rely on soil organisms to break them down. It’s a lot easier to use a biodegradable material to save time. These can last anywhere from 3 to 12 months.
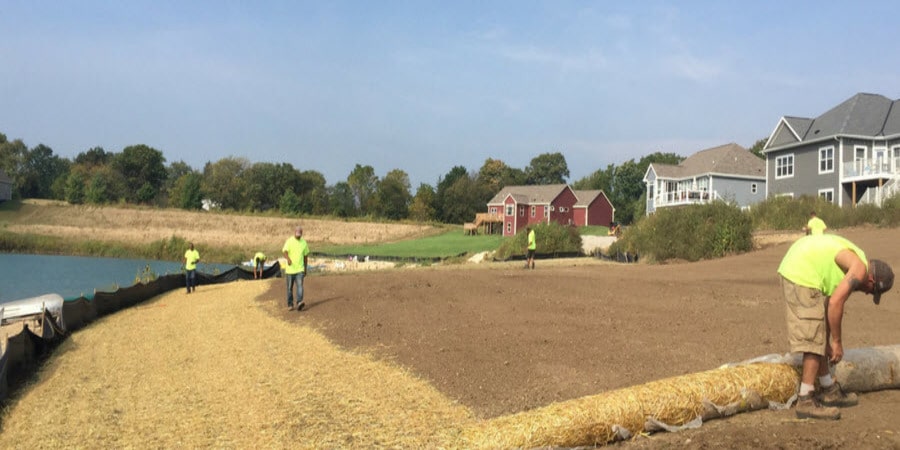
Straw falls under the degradable category and is an affordable alternative to mats. Straw is best used for seeding gentle slopes. I used straw mats when I seeded my new lawn and left them in place to decompose.
You can scatter loose straw over the newly seeded area to achieve 50-75% coverage, not a solid mat of straw. When the grass reaches 2”, remove about half of the straw or leave it all in place to decompose into the soil, which is my preferred method. There’s less of a chance of disturbing the newly sprouted seed.
It’s important to point out that straw and hay are not the same. Hay is pasture grass for livestock, and likely includes grass and weed seeds. Straw is the hollow remains of stalks of grain crops after the seed heads have been removed, but may still include some seeds. If you choose this covering method, make sure to use straw.
If you’re concerned about seeds, purchase straw bales a couple of weeks before beginning your project. Bales can be solarized by covering them in clear plastic and tucking it under the bale to secure. Leave it in a very sunny location for two weeks. The captured heat should kill most of the seeds present.
Peatmoss may be a good option for smaller areas with only a slight incline, especially when used in conjunction with a tackifier.
A tackifier has a slightly sticky adhesive that’s mixed with water and sprayed to bind seed, soil, and mulch, in this case peatmoss, together. Using a tackifier and peatmoss is less expensive than straw or germination mats, but it doesn’t offer the same seed protection.
Placing the Mats
Starting at the top of the hill, unroll the mat toward the bottom so it lies flat to the ground without stretching. Firmly secure it in place by burying the top 6–12” of the mat into a trench about 6 inches deep. Secure the buried edge with landscape staples or biodegradable stakes at 12-inch intervals before filling with soil. This helps to prevent water from running under the mats and washing away the seed.
Unroll the adjacent mat and overlap by at least 2–6 inches. Secure the overlapping mats to the soil using landscape staples every 2–3 feet down the sides. You may also consider adding a row to staple or stake down the center of the mat. Cut the mat at the bottom of the hill and secure it with staples or stakes to ensure the wind doesn’t blow under the mat.
If it’s a particularly long slope and multiple rolls of mat are needed, “shingle” the mats, overlapping the upper layer over the next layer to encourage rain to flow over the mats like shingles.
Cut the mat so it doesn’t obstruct sprinkler heads or other objects. Secure with extra staples or stakes. You may want to run the irrigation system briefly to make sure you didn’t miss a sprinkler head.
Landscape Staples, Stakes
Like the germination mats, you also have options for securing them to the soil. What you choose depends on the type of mat. Galvanized metal landscape staples, also called sod staples, are long-lasting and will need to be removed after the grass is established. If the mat is reusable, use galvanized steel landscape staples, which can also be removed and reused. Raw-steel landscaping staples will rust and decompose after several years. The rust actually adds to its gripping ability. There are also biodegradable stakes that can be used and left to decompose. Various gauges, lengths, and grades of landscape staples and stakes are available.
Watering
Newly seeded lawns need a lot of nurturing for the first several weeks. The goal is to keep the top inch of soil consistently moist without drying out. This is crucial for germinating and newly sprouted seeds.
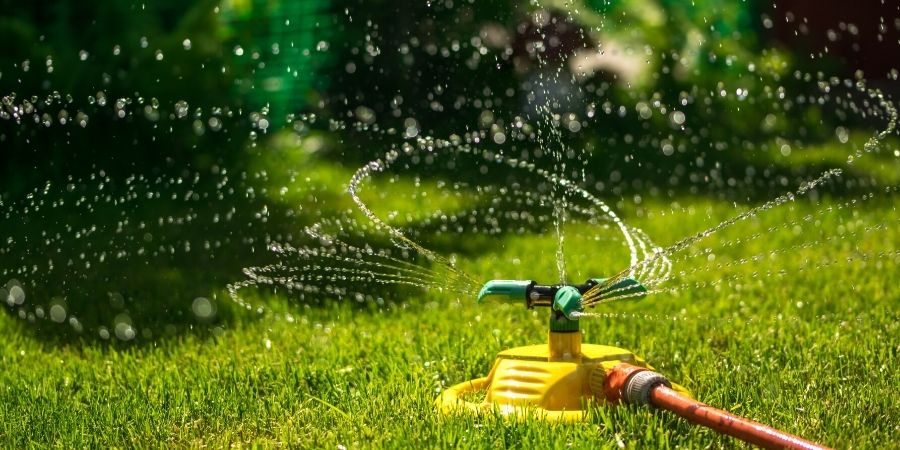
Here’s a general watering schedule, but of course, it depends on the weather. Hot, dry, windy weather may require watering more frequently.
For the first couple of weeks, water daily or as needed to keep the soil damp for the first 2 weeks. In hot, dry weather, you may need to water twice a day. In cooler, wetter conditions, reduce frequency to prevent waterlogging the soil.
During weeks 3 and 4, water once a day, increasing the duration for a deeper soak to encourage root growth. After this, you can transition to watering 1” per week either by irrigation or rain, or a combination of the two.
Mowing, Fertilizing New Lawn
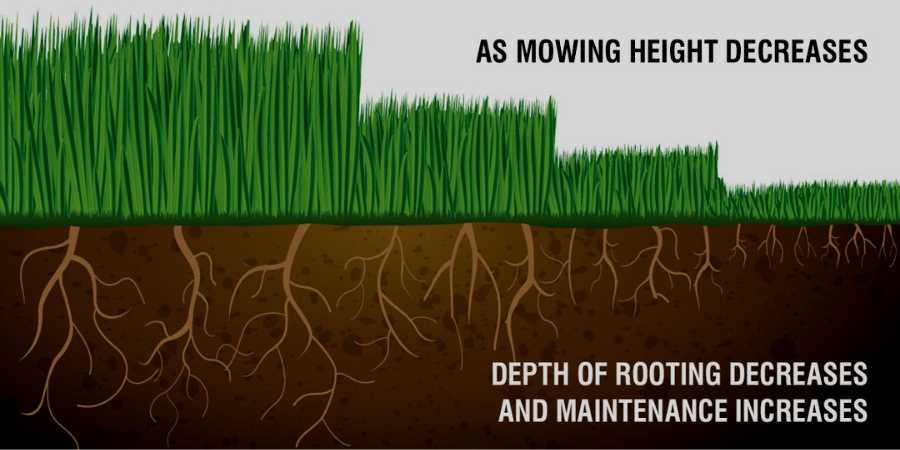
After 4 to 6 weeks, when the grass has reached about 3–4 inches tall, you can begin mowing. Only remove one-third of the blade at a time, which is the same recommendation for established lawns. Be careful not to catch any netting that may be exposed to the mower blades.
After 6 to 8 weeks, you can apply Milorganite at a rate of 32 lbs. per 2,500 sq. ft.
After the lawn has been mowed three times, wait an additional 6 to 8 weeks and apply another round of Milorganite at the same rate. Milorganite doesn’t need to be watered in, but watering will help it settle into the soil.
Water 1 inch total per week through rain and irrigation. Watering between 4 a.m. and 7 a.m. is best to minimize evaporation and reduce disease.