How to Grow Flowers in Your Garden
- horticulturist and gardening expertApril 29, 2023
Maximize the color and beauty in your gardens and minimize maintenance with proper selection and care of flowers.
Add color and seasonal interest to your landscape with flowers. Tuck them into borders alongside trees and shrubs or in a garden bed all their own. With proper plant selection, planting, and care you can keep them looking their best with minimal care all season long.
Select Low-Maintenance Flowers
These will be the easiest flowers to care for. Low-maintenance plants require little or no deadheading. This means you won’t need to remove the faded flowers to encourage additional blooms and keep them looking their best. These plants are often labeled as self-cleaning or free-flowering. Ageratum, angelonia, calibrochoa, and many of the newer petunia cultivars are just a few of the annuals that do not need regular deadheading for continual bloom. Include perennials like willow amsonia, bugbane, Solomon seal, and turtlehead for lower maintenance and big results.
Select plants that stand tall on their own without regular pruning or supports. Check tags and look for words like compact, sturdy stems and other indicators these are self-supporting plants.
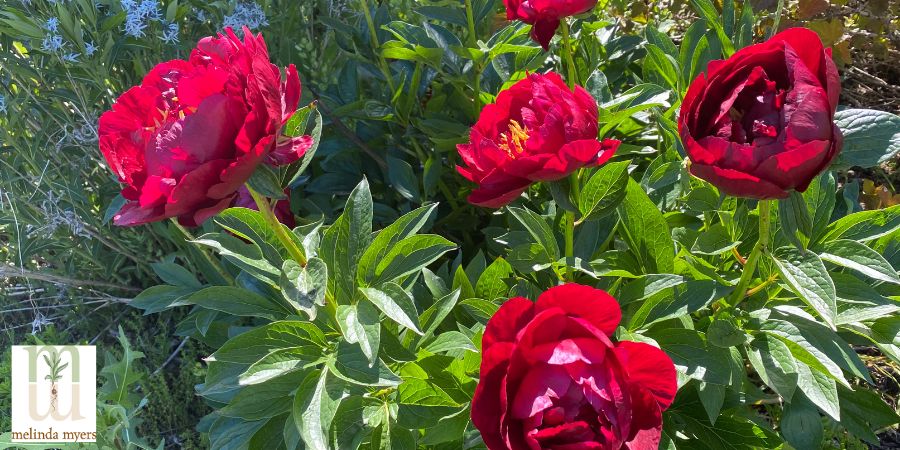
Peonies that don't require support
Avoid plants that are susceptible to common insect and disease problems. Look for disease-resistant varieties of plants like phlox, monarda, and others that are susceptible to common diseases like powdery mildew. You’ll save yourself time and avoid the frustration of trying to keep struggling plants healthy and looking good.
Select flowers that will grow best in the sunlight and soil in your gardens and the average rainfall. Plants suited to the growing conditions will thrive and look their best with less care from you. Drought-tolerant plants require less frequent watering once established. Those that tolerate wet soil are good choices if you garden in areas that receive frequent rain. Plants suited to the growing conditions will also be better equipped to resist insect and disease problems that may develop during the growing season.
What Flowers are the Hardest to Grow?
This depends a lot on how much time you like to spend tending your plants. Some gardeners tell me they enjoy deadheading their flowers regularly with a glass of their favorite beverage in hand. I am all about that beverage but would rather skip the deadheading.
Other plants, like some asters, mums, and perennial salvias require regular pruning to encourage compact growth that does not flop. Some like purple coneflower, obedient plant, monarda, and liatris spread rapidly and need regular dividing or seedlings removed to prevent them from overtaking nearby plants. Then there are delphiniums and others that are subject to a wide range of insect pests and diseases that makes them a challenge. There are always a few gardeners I meet that report having no problem growing the flowers that most of us find difficult.
Get Your Flowers Off to a Good Start
Prepare the soil as needed. Incorporate several inches of compost or other organic matter into the top 8 to 12 inches of poor or compacted soil. This will improve drainage in heavy soil and increase the water-holding ability of fast-draining soil. If you have been growing plants successfully in the garden or are adding plants to an existing garden, just spread a layer of compost over the soil surface. Beetles, earthworms, and other soil organisms will help move it down into the soil.
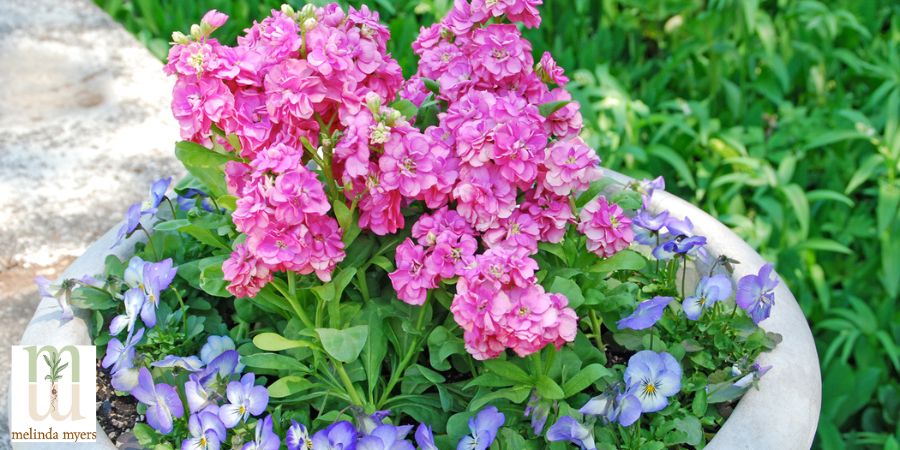
Pink Geraniums and Purple Pansies in a Container Garden
Incorporate Milorganite® fertilizer into the soil at planting. The slow-release formulation provides needed nutrients over a long period of time and won’t interfere with flowering. Milorganite also promotes slow steady growth that is less susceptible to pests, and once established the plants will be more drought tolerant.
How to Plant Flowers
Once your soil is prepared, you are ready to put the plants in the ground. Squeeze the container to help loosen the roots, then slide don’t pull it out of the pot. Gently tease apart any tightly bound roots. This encourages them to grow and spread into the surrounding soil.
Check the plant tag and set your plants at the proper spacing. Although they look small now, they will grow and need the space to reach full size. Planting them too close together means you will be thinning or dividing plants more often or battling disease problems instead of enjoying the full beauty the plants provide.
Consider removing flowers on annuals at planting. This allows plants to focus energy on establishing roots instead of flowers. Can’t bear to do this? Then remove the flowers on every other plant or every other row. Then a week or two later remove the flowers on the remaining plants. You will soon be rewarded with full compact plants that will produce more flowers throughout the season.
Pinch back long and leggy transplants. Use a hard pinch to remove the tip and several inches of stem. Use your pruners or fingers to remove stems just above a set of leaves. The remaining plant will still look good while you wait for new leaves and stems to grow and produce new blooms.
How to Care for Flowers
Water newly planted flowers often enough to keep the top few inches of soil around the roots moist. In a few weeks, begin reducing watering frequency. Water thoroughly when the top few inches of soil are crumbly and moist. This encourages a robust root system better able to access water from a larger area.
Once established, most plants only need to be watered once or twice a week. Adjust your watering based on the plant, your soil, and the weather. You will need to water more often during hot dry weather and less when temperatures. Those with sandy fast, draining soil will need to water more often than those with clay soil that retains moisture longer. Moisture-loving plants require more frequent watering than those that are drought-tolerant.
Mulch the soil to help keep it cool and moist, allowing you to water less often. Just cover the soil surface with an inch or two of shredded leaves, evergreen needles/pine straw, or other organic material. You’ll not only conserve moisture, but mulching also helps suppress weeds and improve the soil as it decomposes. You’ll enjoy multiple benefits this one task provides you and your plants.
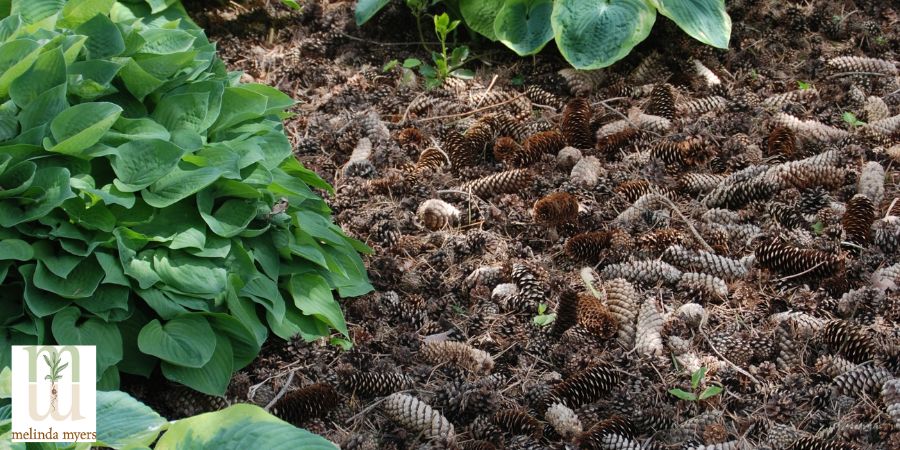
Evergreen Needles and Pine Cones
Remove weeds throughout the season and as soon as possible after they appear. These unwelcome plants compete with your flowers for water and nutrients. Many are also hosts for insect pests and diseases that can attack your desirable plants. Removing weeds when small is easier than once they develop a robust root system. Eliminating them before they flower and set seed means they won’t produce offspring for you to remove next year.
Encourage branching on single-stemmed plants with a soft pinch. Remove just the uppermost portion of the stem where the leaves and tip are starting to develop. Soon you will have a well-branched plant and more blossoms.
Improve plant posture and reduce the need for staking with early season pruning.
Keep mums and asters compact by pinching them back to six inches early in the season. Northern gardeners should stop pruning these by the end of June, and southern gardeners in early to mid-July. This allows the pruned plants time to mature and flower before winter arrives.
Eliminate floppy growth and the need for staking on late bloomers like Boltonia, Autumn Joy sedum, Russian sage and Heliopsis by cutting back the plants once in late spring. Revive catmint and perennial salvia that flop open in the center with a bit of pruning as well. Cut these flopping plants back halfway once or twice a season as needed.
Don’t fret when flowers like alyssum, lobelia, calendula, and French marigolds stop flowering when hot weather arrives. These and some other annuals stop flowering during hot weather. Do not fertilize. Continue to water as needed and wait for new blooms when the weather cools.
Avoid this problem by growing more heat-tolerant varieties of these or other flowers that are better able to handle the summer heat. Consider seasonal displays of annual flowers. Grow pansies, snapdragons, stock, and other cool weather annuals during the cooler months of your gardening season. Replace them with more heat-tolerant annuals like moss rose, zinnias and sunflowers as the growing season heats up. You’ll enjoy the additional color these seasonal changes provide.
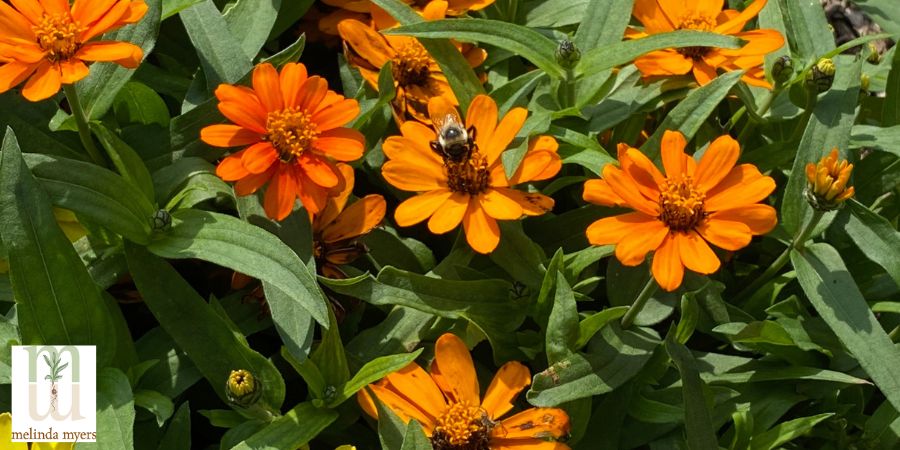
Heat-Resistant Zinnia
On-going Care for Perennial Flowers
There are some other tasks needed to maintain perennial flowers in the garden. Leave healthy perennials to stand for winter. This increases the plant’s hardiness while providing homes for many beneficial insects, food for songbirds, and winter interest in the landscape. Do remove diseased or insect pest-infected plants and dispose of them properly. This helps reduce the risk of problems in next year’s garden.
Wait for temperatures to hover consistently in the 50 degrees F (10 degrees C) or warmer before removing the dead stems in the spring. This allows overwintering insects time to exit and find a summer home. If you can’t wait, stack the stems out of sight so any hibernating insects have time to exit.
Cut some stems back to 18 to 24 inches and leave them standing. Our native bees will use these for their summer homes. Once new growth emerges, it will quickly mask the dead stems, and your garden will look as beautiful as ever.
Divide perennials when they become crowded, develop a dead center, fail to flower, or begin flopping. You can improve their overall appearance and create new plants to use or share with a bit of dividing.
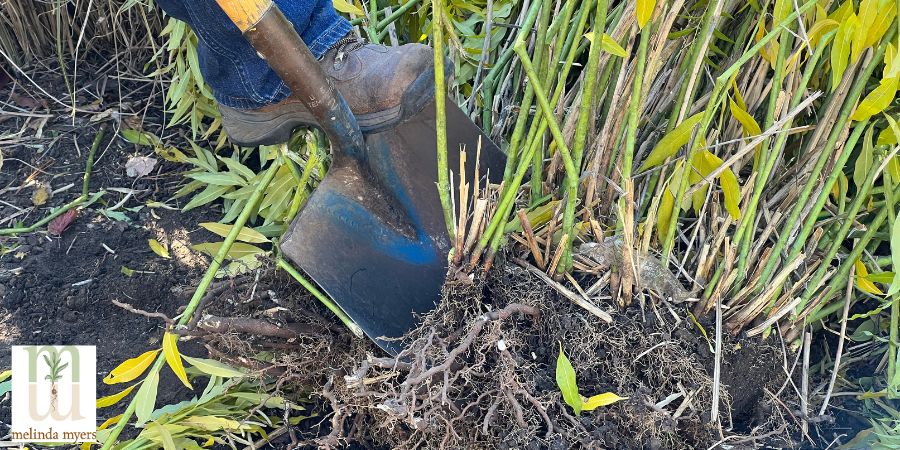
Dividing Perennials
The best time to divide spring bloomers is in fall, fall bloomers in spring, and summer blooming perennials in either spring or fall. But most gardeners have found the best time to divide perennials is when you have the time. As long as you can provide proper care, the plants usually do fine.
Use a sharp spade to dig up the clump. Some gardeners use two garden forks back to back to divide the clump into smaller pieces. I like to lift the clump out of the soil and use a linoleum knife or, in some cases, a reciprocating saw to divide my plants. Remove and compost the dead center then divide the remaining clump into four, six or eight pieces. The smaller the division, the longer it will take for the plant to fill the new space, but you won’t need to divide it as soon.
Prepare the soil before planting the divisions. Plant, water thoroughly, and provide the same care you did for new plantings.
With proper planning, plant selection, and soil preparation, you can keep your ongoing care to a minimum. That means more time to relax and enjoy your beautiful garden.

